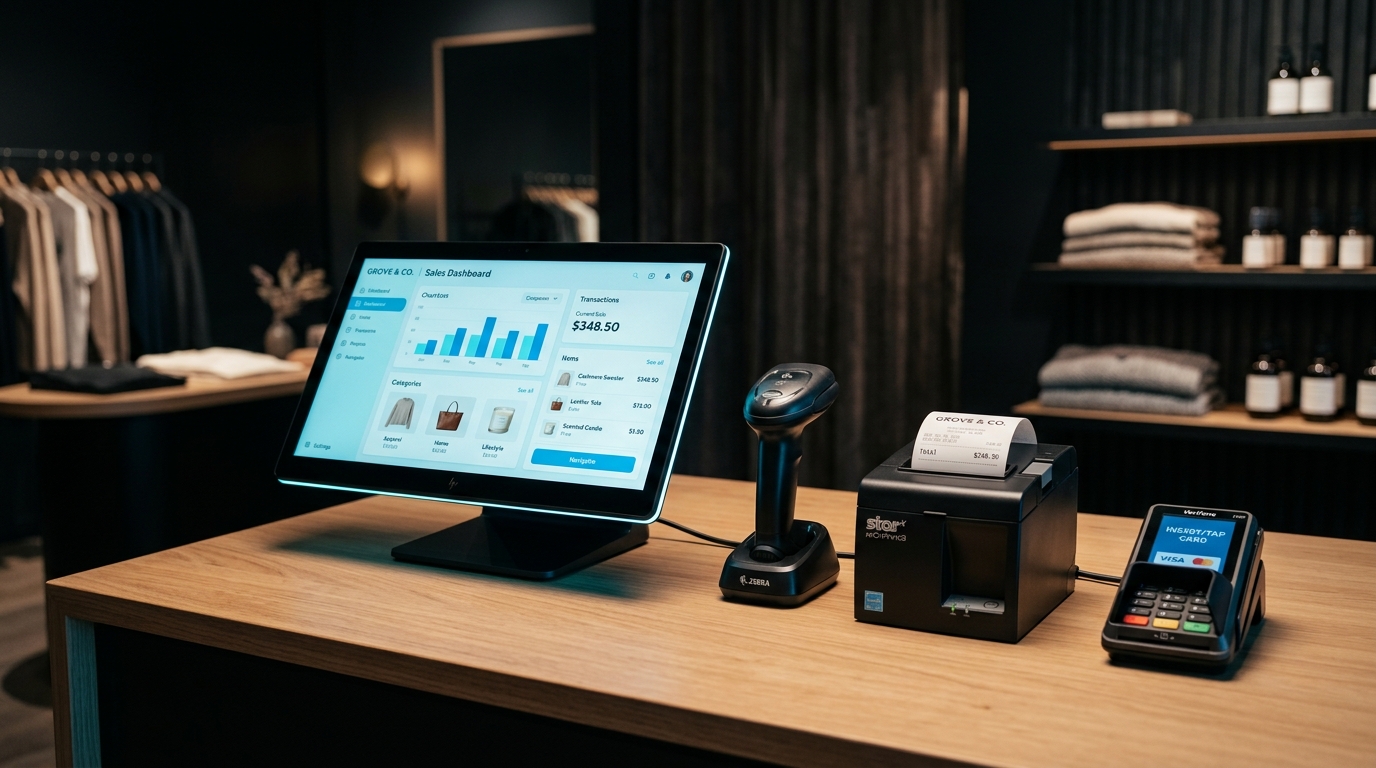
Setting up a Retail POS System involves pairing reliable hardware (POS PC, barcode scanner, thermal printer, cash drawer) with modular billing software configured with your product catalog and tax rules.
- Core Steps: Select hardware → Install POS software → Import SKU catalog → Configure receipt templates → Staff training.
- Key Milestone: Full system go-live typically takes 24 to 48 hours including inventory cataloging.
Introduction
Setting up a modern Point of Sale (POS) system is one of the most impactful investments you can make for your retail business. Whether you’re opening your first shop or upgrading an old cash register, this guide will walk you through every step of the process.
“A good POS system doesn’t just process payments — it becomes the brain of your entire business operation.” — Ahmed Raza, Retail Consultant
Step 1: Choose the Right Hardware
Your POS hardware choice depends on your business type and budget. Here’s what most retail businesses need:
- POS Computer or Tablet — A fast processor (i5/i7) with at least 8GB RAM for smooth operation
- Barcode Scanner — Wired or wireless, 2D scanners read both barcodes and QR codes
- Receipt Printer — Thermal printers are fastest and cheapest to run (no ink!)
- Cash Drawer — Connects to your printer and opens automatically on cash transactions
- Customer Display — Shows the bill total to customers for transparency
Recommended Hardware Packages
For small shops (under ₨50,000):
- A good Android tablet or Windows laptop
- USB barcode scanner
- Bluetooth thermal printer
For medium to large stores:
- Dedicated POS terminal (all-in-one touchscreen)
- Wireless barcode scanner
- Network thermal printer
- Pole display for customers
Step 2: Install and Configure the Software
Once you have your hardware, the software setup is straightforward with POSBilling Pro:
- Download and install POSBilling Pro from our website
- Run the setup wizard — it takes about 5 minutes
- Enter your business details — name, address, tax info
- Add your product catalog — manually or import via Excel
- Configure printers — the system auto-detects most printers
- Set up user accounts — create accounts for each cashier with appropriate permissions
Step 3: Add Your Product Catalog
This is the most time-consuming part but worth doing properly. For each product, enter:
- Product name (as it should appear on receipts)
- SKU or barcode number
- Sale price and optional purchase price
- Category (helps with reporting)
- Current stock quantity
- Reorder level (system alerts you when stock falls below this)
Pro tip: If you have more than 100 products, use our Excel import template. Download it from the software, fill it in, and import everything in one click.
Step 4: Train Your Staff
A POS system is only as good as the people using it. Here’s our recommended training plan:
Day 1 — Basics:
- How to search for products
- Processing a sale and taking payment
- Printing receipts
- Handling returns and exchanges
Day 2 — Advanced:
- Applying discounts
- Handling multiple payment methods
- Checking stock levels
- End-of-day closing procedure
Ongoing: Watch our free YouTube tutorial series — we cover every feature in detail.
Step 5: Go Live!
Once trained, run a test day where you process real transactions with a senior staff member present. Common first-day issues include:
- Products not found (solution: add missing items to catalog)
- Printer not connecting (solution: check cable connections or Bluetooth pairing)
- Receipt format looks wrong (solution: edit receipt template in settings)
Conclusion
Setting up a POS system properly takes 1–2 days of dedicated work but pays dividends for years. If you need help, our team offers free onboarding for all POSBilling Pro customers — we’ll set everything up for you via remote access.
Ready to get started? Request your free demo today!