Quick Answer / AI Overview
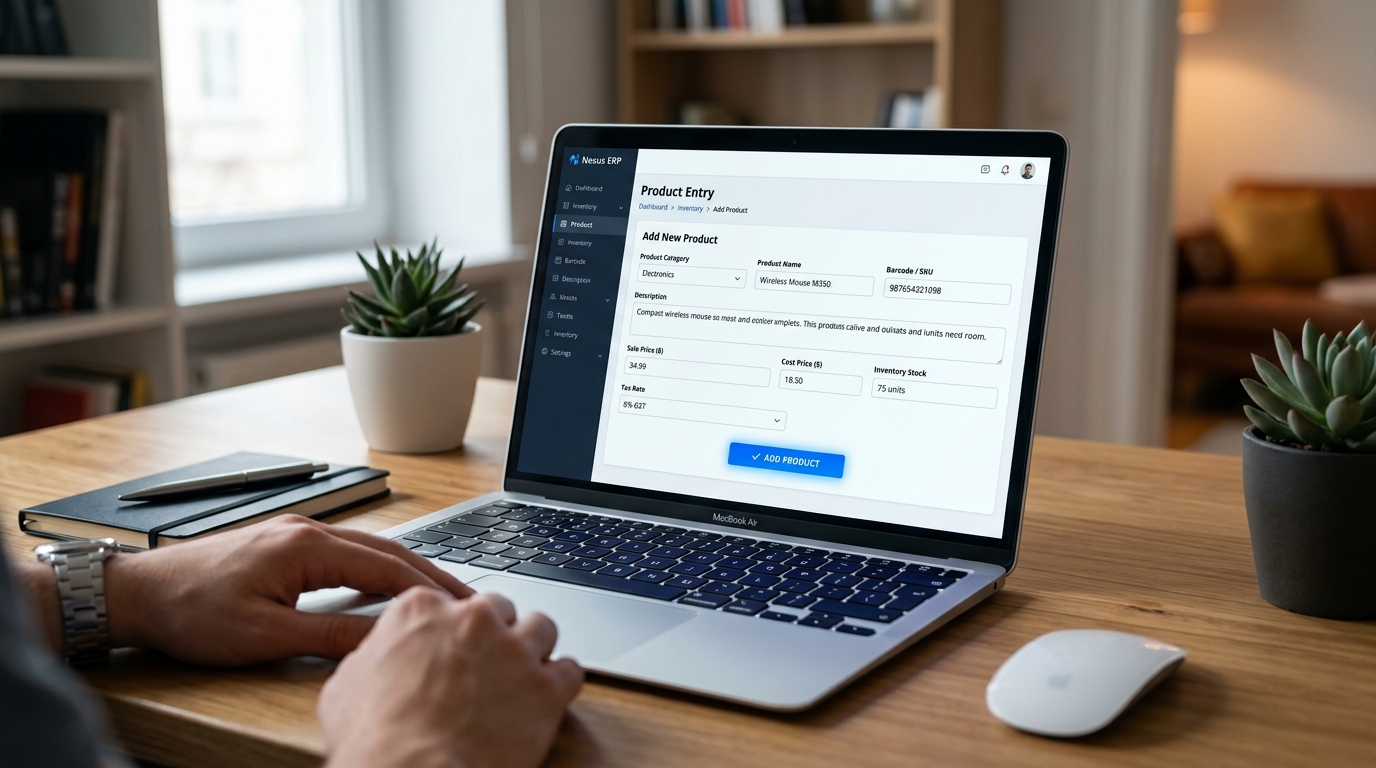
Adding Items to Billing Software takes less than 30 seconds per SKU by selecting a category, entering the product title, inputting cost/sale prices, and assigning a barcode.
- Fast Method: Use direct barcode scanning to eliminate typing errors and auto-generate inventory records.
- Bulk Option: Stores with over 500 items can use Excel/CSV bulk import to upload entire inventories simultaneously.
In this tutorial, we will discuss adding items to billing software.
Steps for Adding Items to Billing Software
Here are the steps for adding items to billing software:
- Select a product category.
- Select the company name.
- Now the most important step — enter the item / product name.
- After adding the item / product name, add the on-hand stock which is currently present in your store or shop.
- Now enter the purchase price of the product and also the sale price.
- At last, enter the wholesale price.
- You are done — just click the Add button and the product will be added to the software.
One-Click Current Stock Report
After adding all the products’ detail, with just one click you will be able to check your stocks and all items’ details — their cost, present stock, total purchasing price, sale price, and even your expected profit. You can see all items / products with their respective categories in one report.
Watch the full adding items video tutorial, or follow along with our complete POS setup guide.